Home > Case Management > Documents > Document Editor
![]() Document Editor
Document Editor
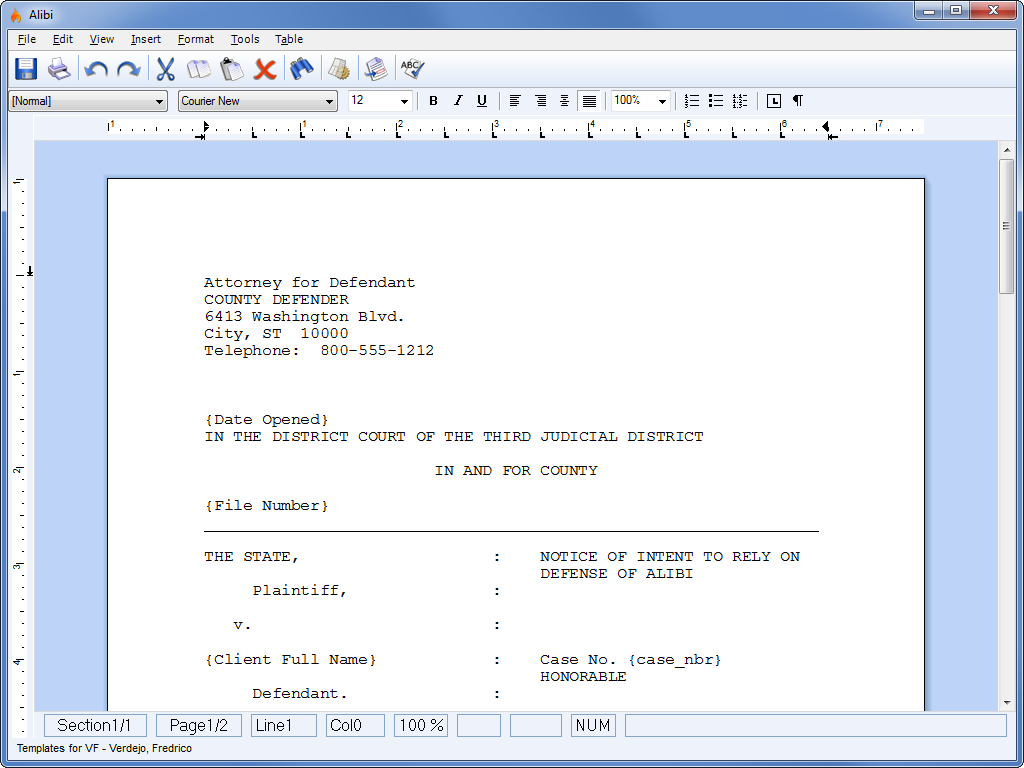
The document editor is used to modify the content of existing documents.
Toolbar Button Descriptions![]() Back
Back
Return to the document list and abort any changes.![]() Save
Save
Save changes to the current document.![]() Print
Print
Save changes to the current document.![]() Undo
Undo
Undo the last modification.![]() Redo
Redo
Redo the last modification that was removed using Undo.![]() Cut
Cut
Delete and copy the selected text <Ctrl+X>.![]() Copy
Copy
Copy the selected text <Ctrl+C>.![]() Paste
Paste
Paste text that was previously Copied/Cut <Ctrl+V>. Delete
Delete the selected text or text following the cursor <DEL>.![]() Find
Find
Opens the Find window to search for text <Ctrl+F>.![]() Insert Template
Insert Template
Opens the Template window (See below for details).![]() Insert Merge Fields
Insert Merge Fields
Opens the Merge Fields window (See below for details).![]() Spell Check
Spell Check
Checks the document for misspelled words.
Inserting Templates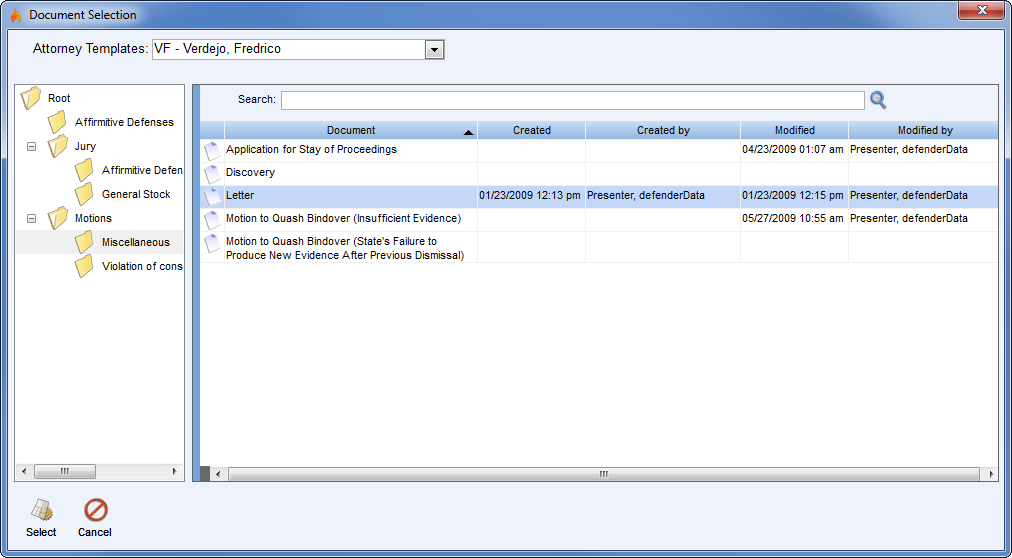 Enlarge picture Templates are custom documents with pre-created content that are stored for each attorney. The
 ![]() Insert Template button opens the Templates window as shown to the right.
Insert Template button opens the Templates window as shown to the right.
Templates can be located for each attorney using the Defender Templates pick list at the top of the window. Once the desired template has been found, select it and then click the Insert button to import the template into the current document. To exit without selecting a template, click the Close button.
Next, select an attorney from the Defender Templates field to see a list of available templates. Once the correct template has been found, double-click the file or highlight it and click the ![]() Select button. To exit without selecting a template, click the
Select button. To exit without selecting a template, click the ![]() Close button.
Close button.
Once a template has been inserted, you will be returned to the document editor where further changes may be made or saved.
Inserting Merge Fields
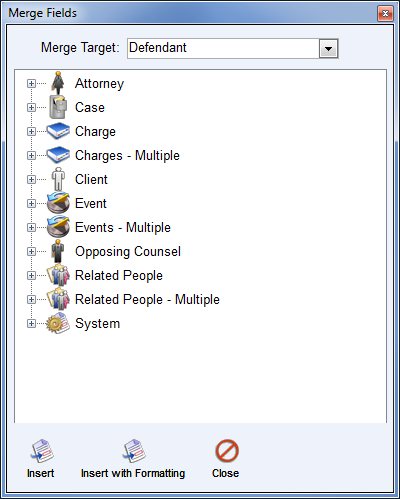
To insert a field, double-click the field name from the list or highlight the field and use the
To insert a merge field with specific formatting, highlight the field and use the
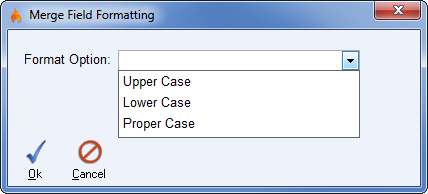
Example of the formatting window used for the Client First Name merge field.
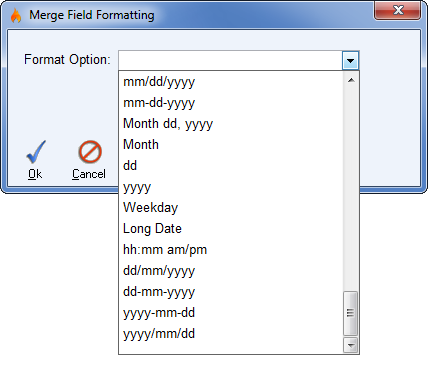
Example of the formatting window used for the Current Date merge field.
See also